
Gift-Wrapping 101: Essential Tools & Techniques for Beginners
- Shanice

- Mar 7, 2025
- 4 min read
Updated: Mar 7, 2025

This post contains affiliate links. If you purchase through these links, I may earn from qualifying purchases at no extra cost to you.
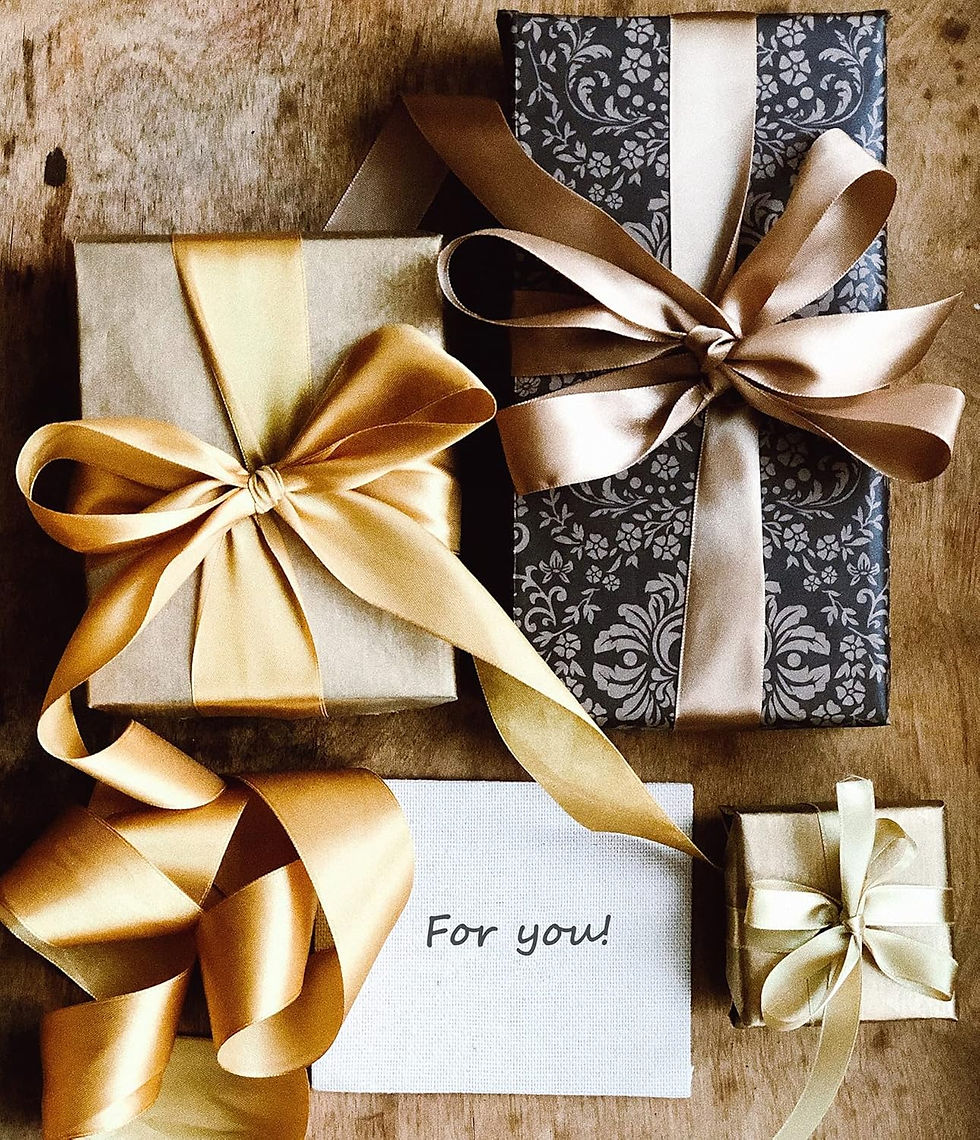
There’s something enchanting about a beautifully wrapped gift. The crisp folds of the paper, the silky ribbon tied just so, and the delightful sense of surprise it inspires—it’s a celebration of thoughtfulness and care before the gift is even unwrapped.
Whether you’re wrapping your very first present or looking to refine your skills, this guide is your ultimate primer. Packed with tips tailored to beginners, creative hobbyists, and even busy professionals, you’ll learn exactly what tools you need and how to use professional techniques to transform every gift into a true work of art.
Why Gift Wrapping Matters
Before we jump into the how-tos, let's talk about the why. Wrapping a gift is more than a practical step; it’s an opportunity to make the moment memorable. A thoughtfully wrapped present tells the recipient, “I spent time on this because you matter.” It adds a touch of personality and excitement to the gift and elevates the experience of giving and receiving.
Still unsure where to start? Don’t worry, we’ve got you covered.
Essential Gift-Wrapping Tools Every Beginner Needs
The key to mastering gift wrapping lies in having the right tools at your fingertips. Before you start snipping and folding, gather these essentials:
1. High-Quality Wrapping Paper

Invest in sturdy wrapping paper. Thin, flimsy paper tears easily and can turn wrapping into a frustrating ordeal. Opt for papers with a weight of at least 80 GSM (grams per square meter) for durability.
Pro Tip: Matte and kraft papers are perfect for beginners—they’re forgiving and less likely to show creases.
2. Sharp Scissors

A good pair of sharp scissors is non-negotiable. Dull blades leave jagged edges that ruin clean lines.
Expert Tip: Use scissors exclusively for cutting paper to maintain their sharpness over time.
3. Double-Sided Tape

Double-sided tape creates a seamless, professional look by hiding adhesive strips. If you find taping tricky, standard transparent tape will do in a pinch.
4. Ribbons & Bows
Ribbons and bows are the finishing touches that elevate your gift wrapping. Start with versatile satin or grosgrain ribbons in classic colors like red, gold, or white.
Try This: Create a bow by looping the ribbon and tying it securely in the center. Fluff each loop for a luxurious effect.
5. Gift Tags

Never underestimate the charm of a handwritten note! Gift tags add a personal and polished touch to any present. Look for matching themes or neutral designs for versatility.
6. Cutting Mat or Table Protector

Protect your workspace by using a cutting mat. It allows you to measure accurately while preventing scratches or damage to your table.
Master the Techniques
Once your tools are assembled, it’s time to put them to work! Follow these step-by-step techniques to wrap gifts like a pro, even if you’re just starting out.
1. Measure Before Cutting
Unroll your wrapping paper and place the gift box in the center. Ensure you have enough paper to cover all sides, with an extra 2–3 inches for clean edges. Not sure if you need more? “Measure twice, cut once” is the golden rule!
Helpful Tip: Use a ruler to measure straight edges or fold the paper lightly to gauge size before making any cuts.
2. Secure Crisp Folds
The difference between amateur and professional wrapping is all in the folds. Crease the edges carefully using your fingers or the blunt side of scissors.
3. Fold & Tuck for Neat Edges
To create those Instagram-worthy corners, fold the paper as if wrapping a book, tucking the sides in at an angle and smoothing over with your tape.
Bonus Technique: Adding a pleat to your fold (a small, straight line crease along the edge) can make even simple paper designs look fancy.
4. Add Layers and Texture
Not feeling inspired by your wrapping paper choices? Layer them! Combine a neutral kraft paper base with a patterned accent strip, or layer tissue paper inside the folds for a touch of color.
Creative Ideas to Elevate Your Gift Presentation
Looking to add a bit more personality? These creative touches will turn an ordinary wrap into something extraordinary.
The Minimalist Touch

Pair kraft or matte white paper with a single pop of color through a ribbon, bow, or sprig of greenery (like rosemary or eucalyptus). Elegant yet simple—perfect for any occasion.
Play with Patterns & Shapes

If your gift doesn’t come in a tidy box, no problem! Wrapping oddly-shaped items becomes easier when you use creative alternatives:
Idea: Use a decorative bag or wrap fabric (furoshiki-style) for an eco-friendly solution.
Seasonal Themes

Integrate the occasion into your designs:
For birthdays, try bright and bold colors paired with fun stickers or glitter accents.
Holiday gifts? Think golds, reds, and greens sprinkled with a bit of sparkle.
Common Gift-Wrapping Struggles (And How to Overcome Them)
Don’t be discouraged by these common challenges. Here's how to tackle them like a pro.
Paper Too Short? Add a strip of contrasting paper to bridge the gap—it looks intentional and stylish.
Wrinkles Won’t Smooth Out? Use double-sided tape to pull tension or switch the paper out for a more forgiving type like kraft.
Odd Shapes? Place the item in a decorative box or gift bag before wrapping.
Bring the Joy Back to Your Wrapping Routine
Gift wrapping doesn’t have to be intimidating. Once you’ve mastered the basics and added a bit of personality, you’ll find joy and satisfaction in the process. Whether you’re prepping for a birthday, the holidays, or just because, every wrap tells a story—yours and the recipient's.
Not sure where to start? Practice with scrap paper or outdated wrapping, and over time, your skills will shine. Remember, it’s not just about perfection; it’s about the care and effort behind the gesture.
Happy wrapping!

Comments